
I promised my cousin I would put this on the blog months ago and then just forgot. This is not my pattern by any means. I learned this from Bernina, in a class to learn my new machine. I have made dozens of them since.

Cut two ouside pieces 5 in.X 15in. and cut two inside pieces 5in. X 15in. and two pieces of batting 5 in.X 15 in. You will need a zipper that is at least 20 inches long. two pieces of ribbon 15 in. long and a short piece about 3 or 4 inches to put into the zipper as a pull.


Once you have quilted it lay the zipper upside down on the edge you want to be the top edge of your bag and sew it down .( I leave it zipped when I do this as you can see in the photo below.)


Unzip it now and sew the other side to the zipper making sure your zipper will close correctly and the quilted pieces are even.
Add a piece of ribbon to each side either right up next to the zipper or a measured distance away. I like to make sure the fabric under neath is caught to prevent fraying.
Turn these two pieces right side together and sew along the long (15in) edge.

I use a 1/4 inch seam allowance most of the time, but on occasion it is a little larger as it may appear in this photo.
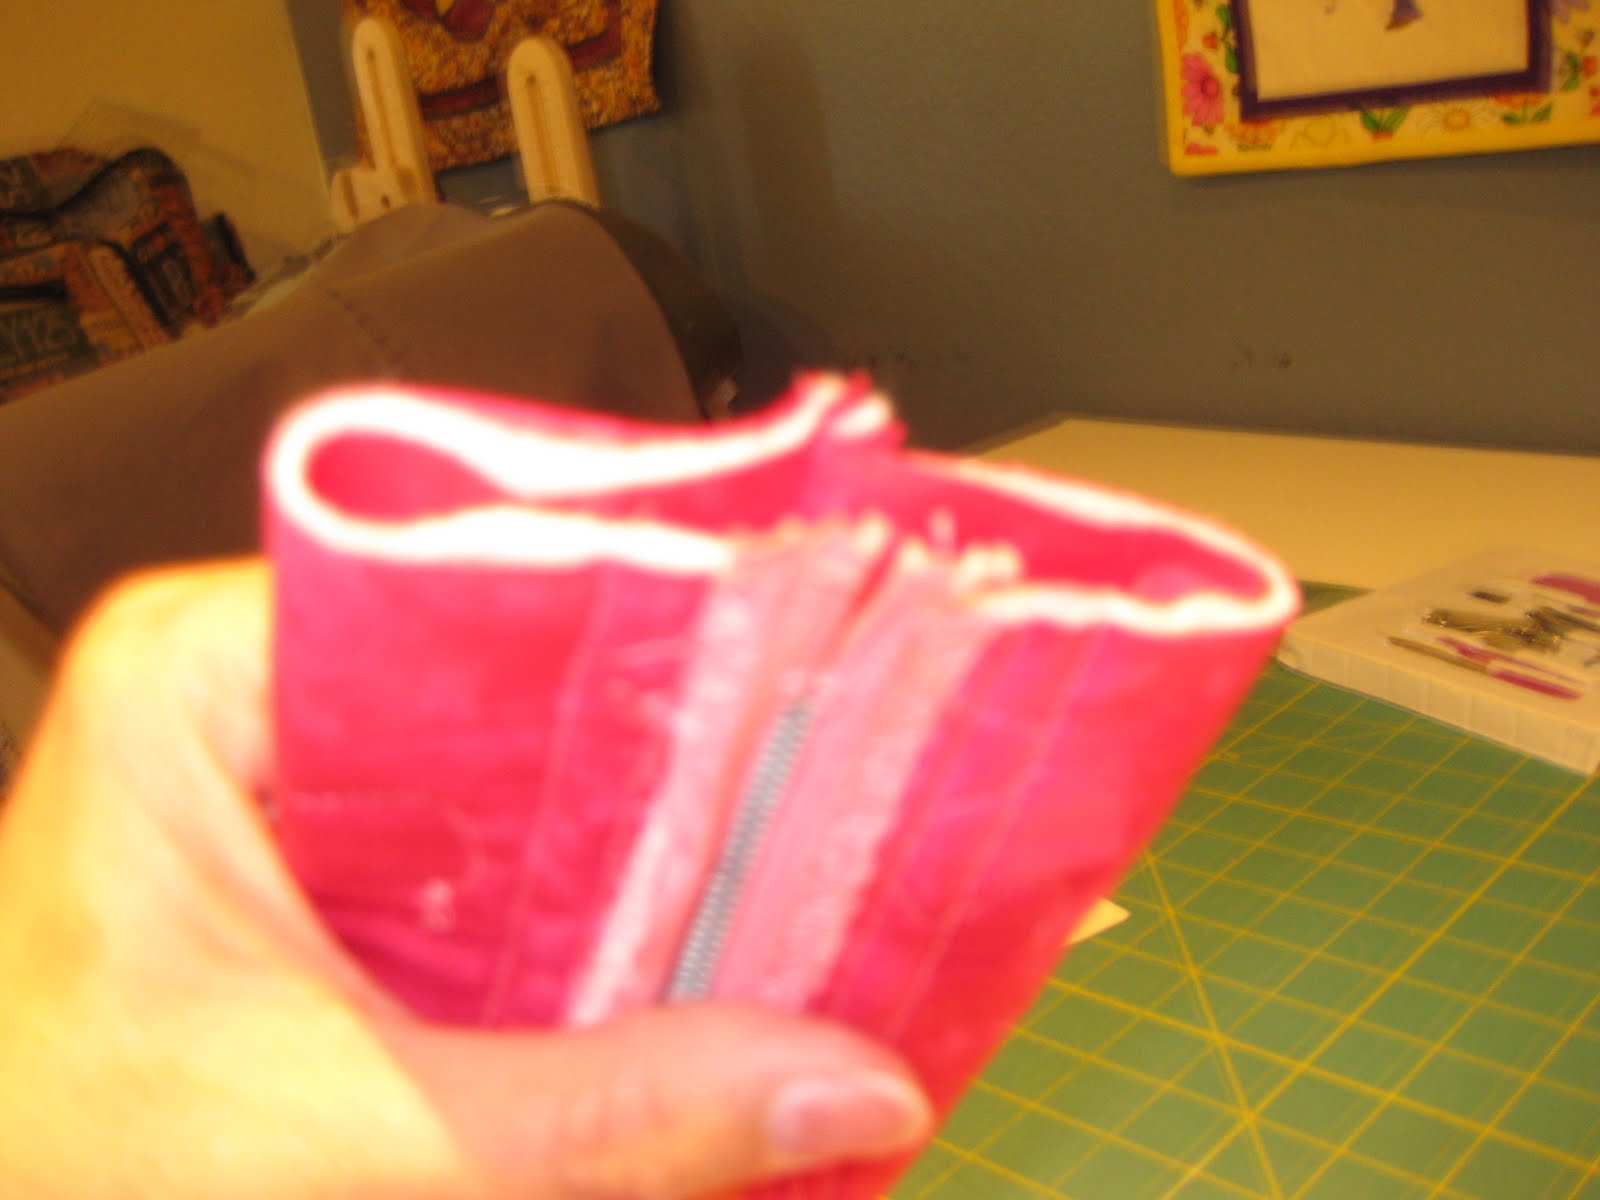
Line up the zipper with the seam you just created. Pin if you need to and sew this together

Before you go one to the other end we will need to make some cuts and sew some more so measure the corner 1 inch square and mark it in some way.
Cut the 1 inch corner out. Repeat for the other corner and when you have sewn the other end ( with zipper open) repeat for both of the corners on that end as well.


Make sure your zipper is open when you sew the second end closed. You can trim off any excess zipper once you have sewn the ends together.
Sorry about the fuzzy photos. They looked better on the camera. LOL
This is the tricky part , your cut corners will make an angle seam if you try to put it together flat. Sew this with the best quarter inch seam you can make.


Once you have sewn all four of these angle seams making sure the side seam allowances go the same direction, you can turn your case inside out and zip it close to see how it looks.
This is where I thread the short ribbon into the zipper putll and tie it into a little know and it makes the zipper easier to use.

I made two the same size, however I did different quilting on both of them.
So until I have a chance to write again, have a very quilty week.
Tennye

4 comments:
Thank you! Great tutorial!
very nice....thanks for showing the tutorial!
Very nice, Tennye!
this would make great pencil cases for school fetes as well
Post a Comment